Turning Slack messages into Todoist tasks with Zapier & AI
This is a tutorial to help you extract a task list from a Slack message, and send it to Todoist (or any other Task Manager equipped with an API), along with a title, and a description.
What is Zapier?
I have been using Zapier for many years. For those who are not familiar with it, it’s a tool similar to IFTTT or Make, situated roughly in the middle in terms of power and complexity. IFTTT is the easiest to approach, but limited to relatively simple tasks; Make is much more complex but also more powerful.
If none of the names above rings a bell, these are tools allowing you to connect multiple online apps without having to program.
In a nutshell, they allow you to create flows that are triggered by an action in one app (starring an email, creating a new event in your calendar, saving a Slack message). You can then extract data from the action that triggered the Zap (that’s what a workflow is called in Zapier), transform it using a large selection of tools, then send it to a different app that you also connected to the Zap.
I shared examples not long ago to show how I send notes to Reflect.
My Zaps before AI
For the longest time, I used Zapier to automate things on schedules.
I have, for instance, Zaps that change my Slack status at work based on the time of the day to signal to my coworkers when I am focused on Deep Work, available for calls and chats, or when my workday is over.
I used them to send reminders, by email or messages when updates are due.
I also used them to collect content in my notes, as per the recent example linked above. They were a powerful tool, but the “no-code” promise (the idea that one can do complex things without any programming) was quickly broken as soon as one tried to transform the data passing through the Zap in any meaningful way.
My Zaps using AI
The situation has changed completely now that ChatGPT (and Claude, and I am sure many other options), are available as actions in your Zaps.
I have recently started playing with Todoist as they have introduced the ability to sync your tasks with your calendar, and thus have become a potential time blocking tool, an area I am constantly researching.
So on this beautiful Saturday morning, I decided to explore how Slack messages or emails could become structured tasks, and task lists in my Todoist inbox.
I am quite satisfied with the result, so I figured I could share it in case it can inspire others.
A Slack-to-Todoist Zap
Here’s the full structure of the Zap.
The trigger is Slack, and the triggering action is to save a message. When a message is saved, it is captured by the first block, and sent down the Zap.
The magic happens in blocks 2, 3, and 4 where three different prompts extract a title, a description, and a possible list of tasks from the original message.
We then proceed to insert data into Todoist. There is a native connection between Zapier and Todoist, but I had to opt for using the API here because the Description field in Todoist’s tasks is not yet accessible via the native app.
This adds a bit of complexity, mostly spending a few minutes reading the API documentation, but Zapier makes it extremely trivial to call any API endpoint with a JSON object and an authentication header.
If this sounds opaque, don’t worry, we are about to demystify complexity 🙂

Let’s look at the result first
This is a sample message (for obvious reasons I can’t show screenshots of real ones, so I made this one up).
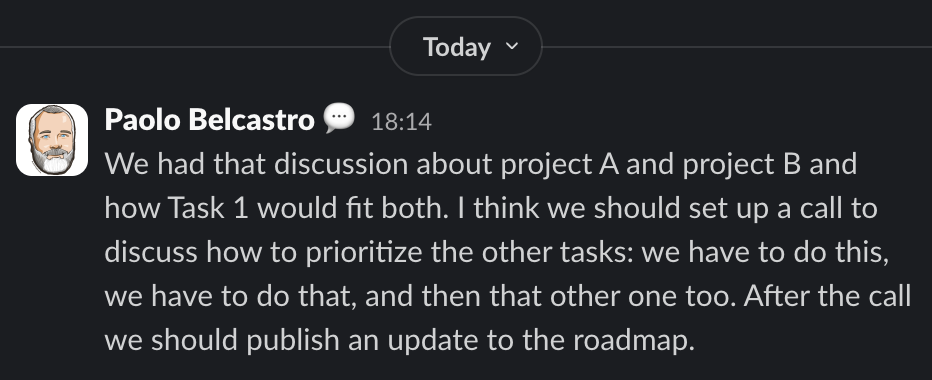
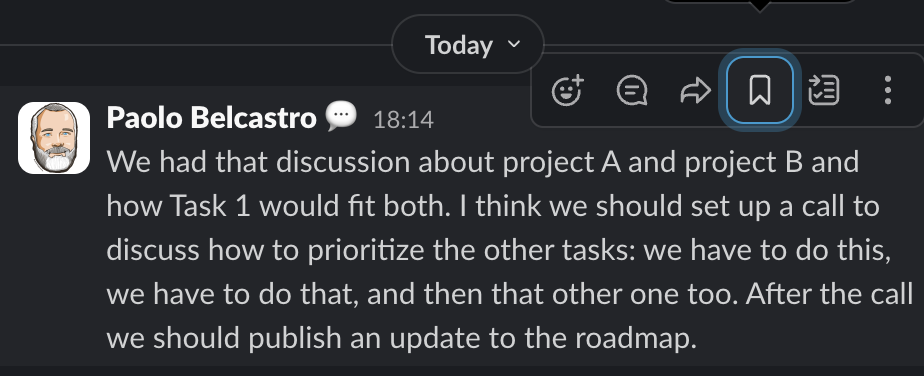
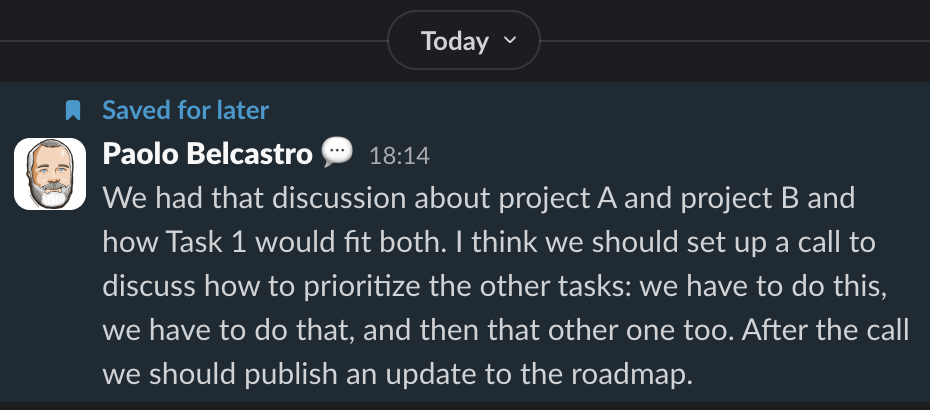
As you can see, the message is just text, without particular structure (no title, no bullet list, etc.)
I agree, this one reads a bit odd as I was just writing an example, but trust me, it works very well with real life messages.
After saving the message in Slack, I wait a few seconds, and this is what I see appear in Todoist:

As you can see, several things have happened here:
- ChatGPT creates a title that I used to name the task.
- It also generates a description that you can see under the title.
- Then, it extracts the primary subtasks, and you find them there.
- Finally, and this is the one step that doesn’t require AI, I insert a comment to the task that contains the original message content, a link to it in Slack, as well as links to the author profile and the channel (empty here as I sent the message to myself).
What’s interesting is how, despite my potentially confusing message, ChatGPT (4o in this iteration), was able to understand that the subtasks related to this message were to organize a call and then publish a roadmap update, and not to “do this, do that, and then that other one too” 😉
How does this work?
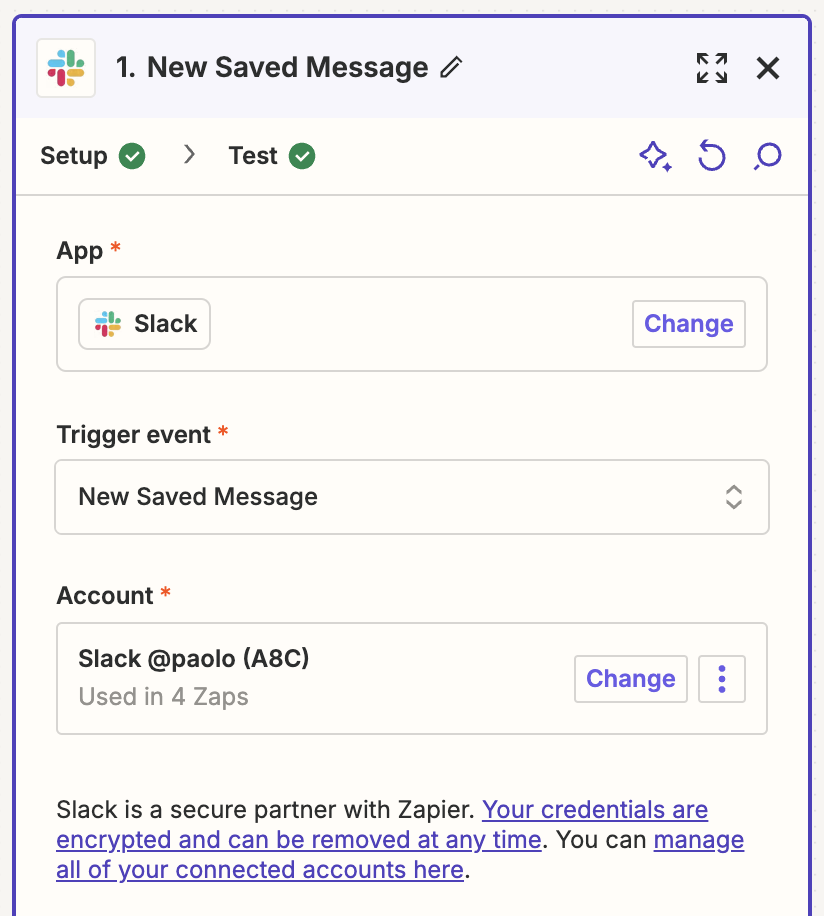
Step 1.: The Trigger
The first step is the trigger. It’s elementary: it only requires to connect your Slack account to Zapier (which you do in a few clicks), and then select the “New Saved Message” action. That’s it.
Steps 2., 3., and 4.: ChatGPT extracts information
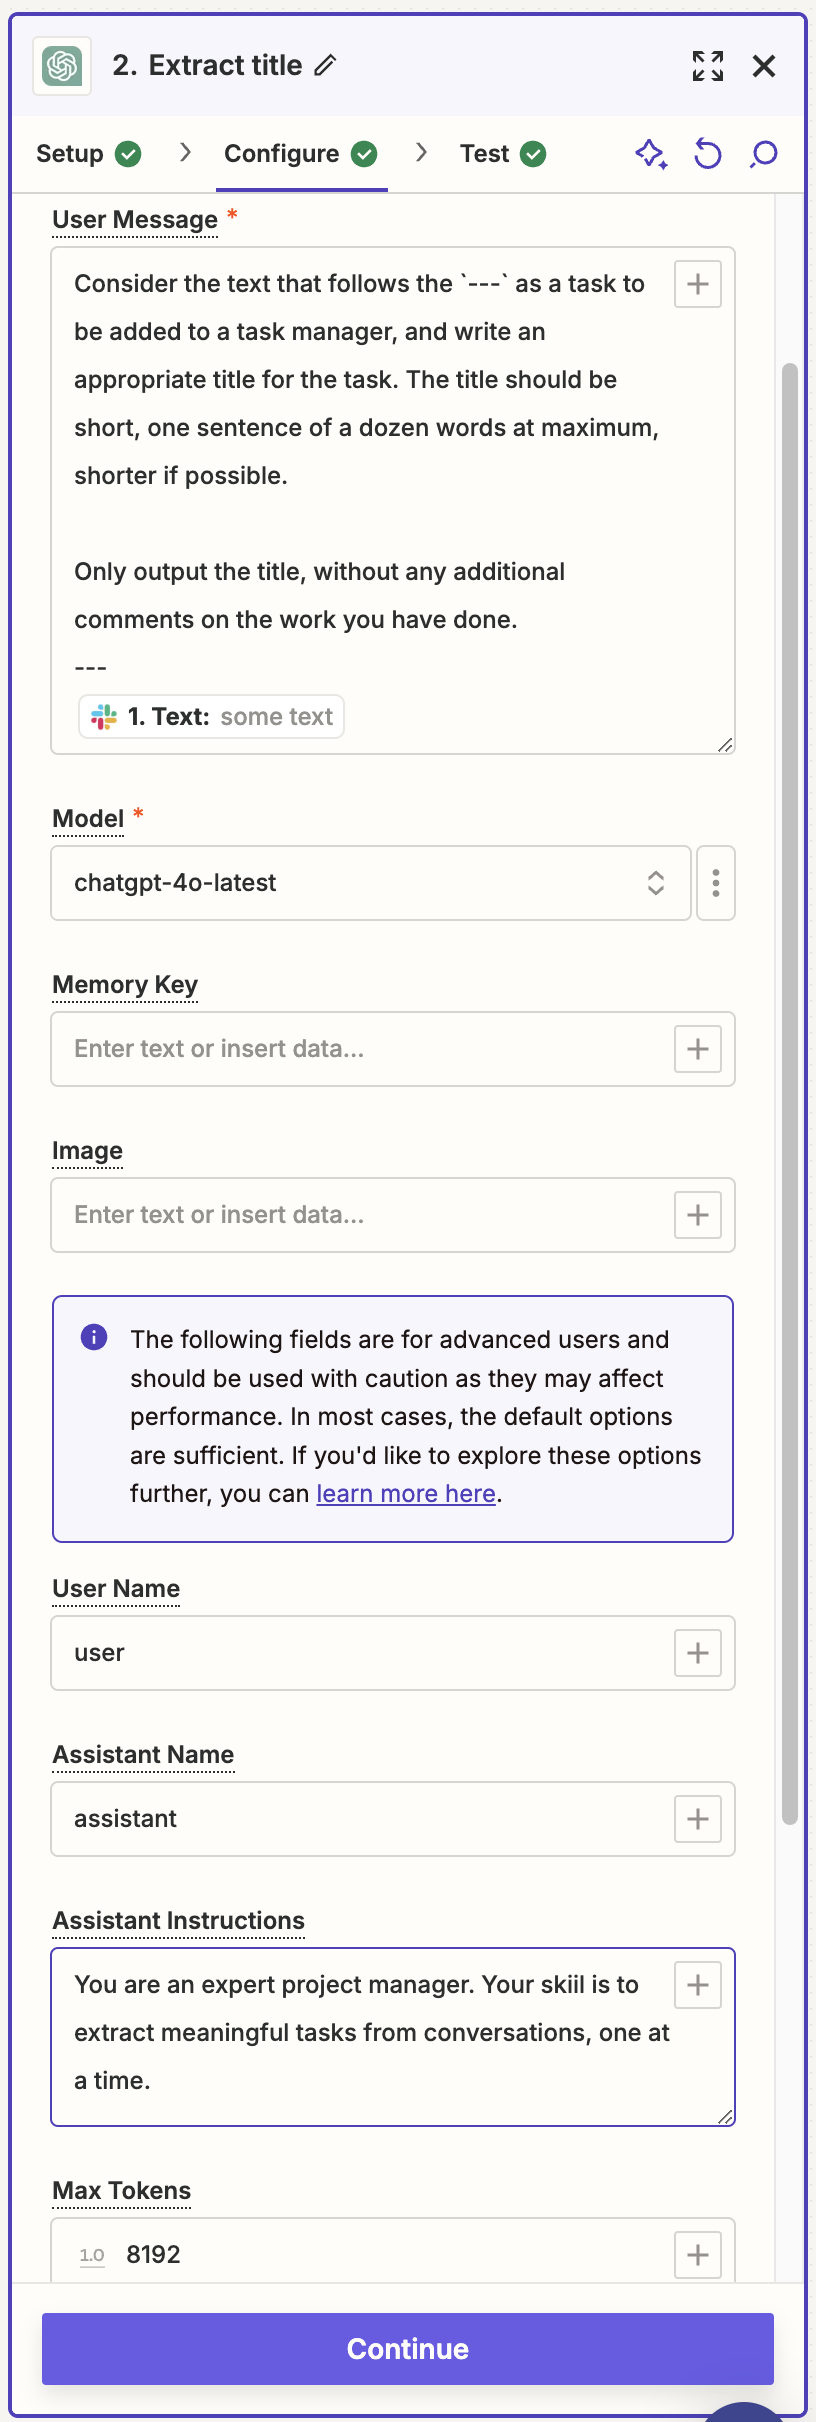
Subsequently, we have the three actions leveraging ChatGPT, one after the other. As it’s often the case when using Large Language Models (LLMs), the instructions are in plain English (or, really, in the language of your choice).
Click on each of these screenshots to expand it and read the prompts.
First, come the instructions for ChatGPT, called “User Message”.
Then a couple of options like the model of your choice. The following ones are not relevant to this use case, so I let them with their default settings, except for the “Assistant Instructions” that I use to tell ChatGPT how to behave.


| (pipe).I used the pipe | as a delimiter here because I was worried that using commas or tabs would create issues if such characters were present in the task names.
Step 5.: Create, Name, add a Description to the Task

With the Task Title and Description now available to us, the next step is to create the task itself.
Here we use a Zapier internal tool, the Webhook1. That’s a fancy name to say that we are going to call a URL and pass it some parameters.
In this context, the URL we call is the Todoist API endpoint to create tasks:
https://api.todoist.com/rest/v2/tasks
The API expects an authentication token in the header, as well as a JSON object containing the parameters, but luckily Zapier makes it easy to provide all these elements by taking care of all the obscure formatting parts.
All we need to do is define what goes in the content (that’s the task title) and the description. In the former we put the output of the first ChatGPT block, in the latter the output of the second one.
The authentication requires to grab an API token in Todoist. That’s available in Settings/Integrations/Developer.
All the other parameters are optional, and if nothing else is filled, the Task will be created in your Inbox.
Step 6.: Add a Comment with the Original Data
To add the comment containing the original message with links to Slack, we need to use the same type of internal Webhook tool, but we’ll call a different API endpoint: https://api.todoist.com/rest/v2/comments
This one requires an additional parameter, the ID of the task we just created. Once again, we are in luck (or should I say, Zapier is really helping us), but that information was returned to our Webhook by the API when we first created the task, and it’s subsequently made available to us. You can see it already set here in the task_id field.
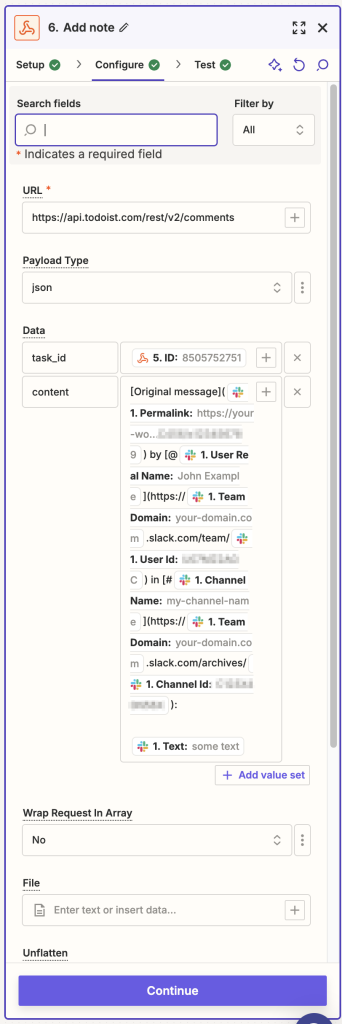
The Authorization header is not visible in the screenshot, but is the same as previously.
The content is this time built from the elements that were gathered from Slack without any transformation. Here’s an expanded view that is easier to read. As you can see, the way this works

in Zapier is quite straightforward: one can mix text with variables gathered by the trigger (or created by other actions). In this case, Todoist accepts Markdown for formatting, which makes it possible to insert links to the original message, the user profile, and the Slack channel where the conversation took place.
Steps 7. & 8.: Create a Loop Adding the Subtasks
Finally, we get to the last two steps. Although they may seem a tad more complex, once more, Zapier comes to our help.
What we want to achieve here is adding those tasks that ChatGPT has extracted from the message, not just as a bulleted list in the Task description, but as subtasks of the original task. Todoist makes that possible: when we create a new task, if we indicate the ID of a parent task, the new one will be added to it, in the subtasks section.
So the last step needs to be a loop going through the list of tasks one by one, and adding each to the one we created in step 5 of the Zap.
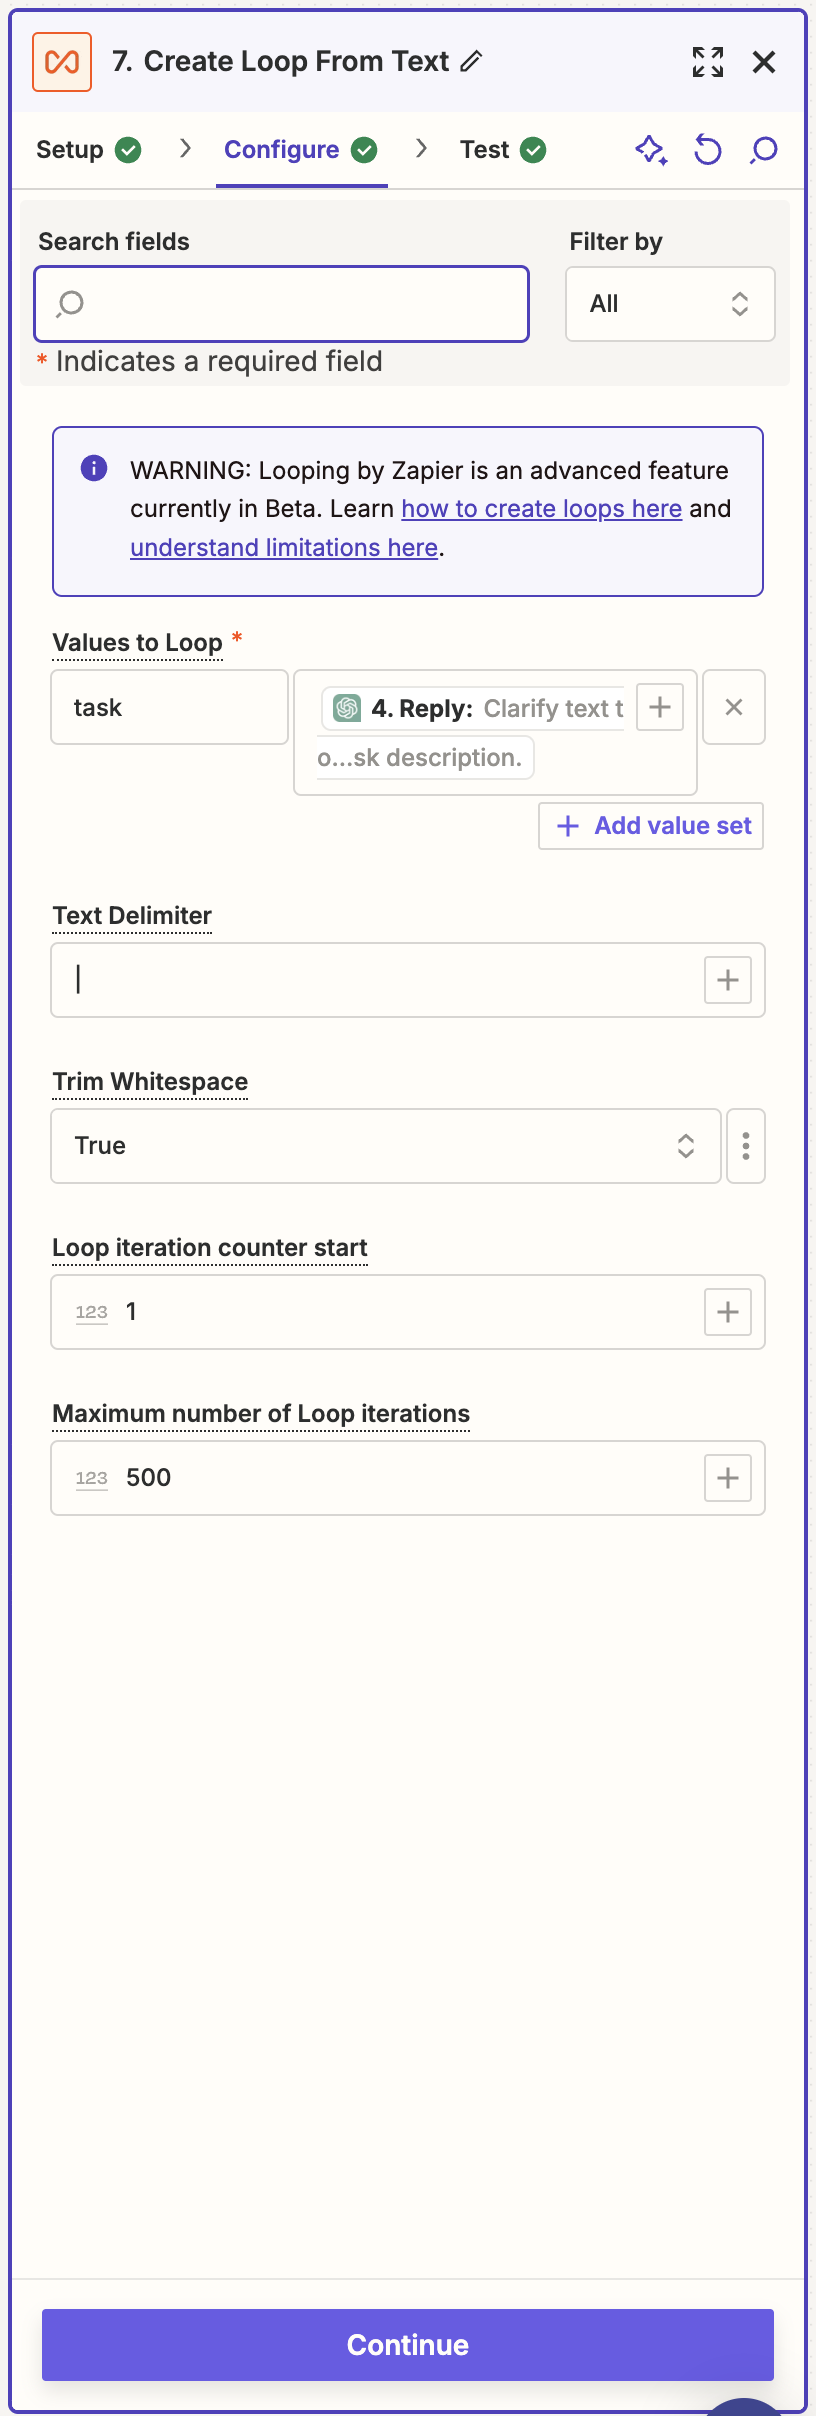
We can rely on another Zapier internal tool, Create Loop From Text.
We provide as an input the list of tasks ChatGPT generated for us in step 4., and tell it that the delimiter we are using is the pipe character |
As soon as we insert the loop block, Zapier draws a surrounding rectangle, indicating that any new block we place inside will be used in each iteration of our loop. The loop block in step 7. will, of course, pass the active line of text as a parameter, than we can use in our Webhook in step 8.

The Zap in Action
It takes about 15 seconds, sometime a bit more, between clicking on Save a Message, and seeing the task in Todoist, but that’s not noticeable in general as the primary purpose of such a tool is to be able to send a task to your list without interrupting the current flow, so it’s unlikely you’ll go check that immediately. It’s fun, nonetheless, to see the task populated in real time.
Conclusion
I hope this can be useful, whether you use Slack and Todoist and decide to implement it as it is, or just to get inspired to build your own Zaps.
If you need any clarification, feel free to ask in the comments. If you build any Zaps, I’d love to hear about them, please let me know about them! 🙂